Monday, October 15, 2018

AWS - Covert AWS-supplied .pem files to the XML format

To use the RSA keys provided by AWS Account/Security in the .NET framework, you must convert the AWS-supplied .pem files to the XML format that the .NET framework uses. You can use below link to convert. 

 https://superdry.apphb.com/tools/online-rsa-key-converter

AWS - Message delivery to the remote domain failed for the following reason: The remote server did not respond to a connection attempt.

Error - Message delivery to the remote domain 'gmail.com' failed for the following reason: The remote server did not respond to a connection attempt.

 Amazon Web Services’ EC2 instances are throttled on port 25 by default as a spam prevention measure. This can cause connection issues when attempting to use SMTP to relay emails through Postmark in your EC2 instance. There are a couple ways to resolve this issue so that you do not receive connection errors when using Postmark in your EC2 instance. 

How do I remove the throttle on port 25 from my EC2 instance?

I'm having trouble sending email over port 25 of my Amazon EC2 instance, or I'm getting frequent timeout errors. How do I remove the port 25 throttle on my EC2 instance?

You can request Amazon Web Services to remove the throttling on port 25 using theRequest to Remove Email Sending Limitations form. Note: you must sign in with your root account credentials. Amazon Web Services will request that you provide a use case description with your request to remove the throttle. Once your request is approved, they will alert you via email that the block has been removed.


Wednesday, September 12, 2018

AWS - Enabling Enhanced Networking with the Elastic Network Adapter (ENA) on Windows Instances


AWS - Transfer the AWS EC2 Instances to ENA instances
Tags – Transfer m4 to C5 family, Transfer m4 to m5 family, Transfer m4 to R4 family, transfer to ENA instances

Steps are as follows:
1.    Install and configure the AWS CLI or the AWS Tools for Windows PowerShell on any computer you choose, preferably your local desktop or laptop. For more information, see Accessing Amazon EC2. Enhanced networking cannot be managed from the Amazon EC2 console.
2.    Configure the AWS Command Line Interface , use the aws configure command
$ aws configure
AWS Access Key ID [None]: AKIAIOSFODNN7EXAMPLE
AWS Secret Access Key [None]: wJalrXUtnFEMI/K7MDENG/bPxRfiCYEXAMPLEKEY
Default region name [None]: us-west-2
Default output format [None]: json

3.    Take an AMI of the Instance to have as a backup
4.    Install the driver to the instance
5.    Stop the Instance
6.    Change the Instance Type
7.    Run the Describe-Instance Command locally from the AWS CLI –
aws ec2 describe-instances --instance-ids instance-id --query “Reservations[].Instances[].EnaSupport"
8.    Run the Modify-Instance-Attribute Command locally from the AWS CLI –
aws ec2 modify-instance-attribute --instance-id instance-id --ena-support
9.    Run the Describe-Instance Command locally from the AWS CLI again to verify –
aws ec2 describe-instances --instance-ids instance-id --query "Reservations[].Instances[].EnaSupport"
10.  Start the instance and check the networking and sharing center
  

Resizing your Instances - http://docs.aws.amazon.com/AWSEC2/latest/WindowsGuide/ec2-instance-resize.html#resize-ebs-backed-instance

Tuesday, August 21, 2018

WordPress line break not Working

Many WordPress users struggle around this issue of WordPress line break not working. In this article, we discuss some of the possible ways to get around this issue.


1. Use empty classes in HTML Elements
You can make WordPress assume that your HTML elements contain certain attributes. This can be done by Adding attributes to the HTML elements with the use of empty classes. For example:
Avoid writing:
<p>
<br>
<span>
Instead, write:
<p class="">
<br class="">
<span class="">
2. Disable Autop formatting
The Autop() function in WordPress auto formats the paragraphs. The WordPress line break not working is due to the presence of a filter called “wpautop”. The “wpautop” filter executes whenever the content of a blog post is rendered.
We can easily use the remove_filter function to disable the wpautop filter. In the functions.php file you need to add the following code:
remove_filter ('the_content', 'wpautop');
If you use multiple themes, then you need to add this functionality as a plugin. You can place the code within a PHP file inside the /wp-content/plugins directory.

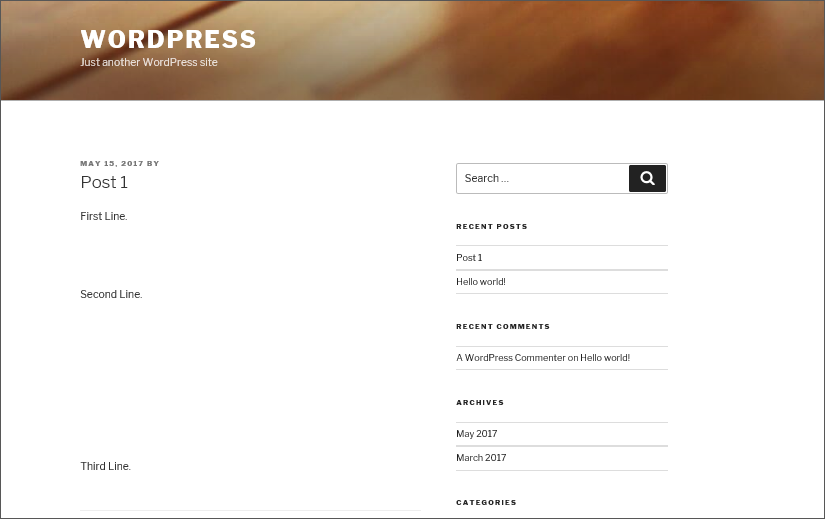
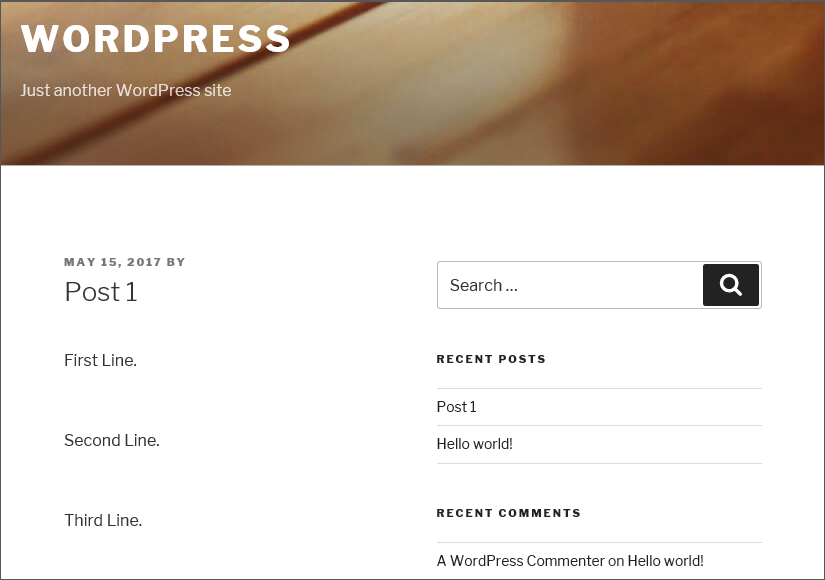
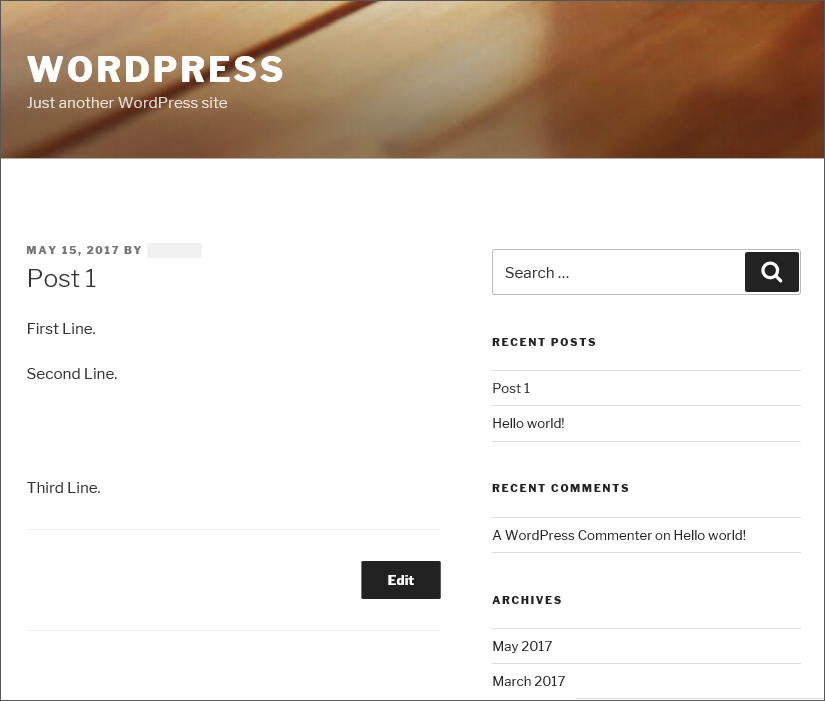
Published Post after Autop disabling

WordPress line breaks Fix1

3. HTML br tag not working: Use TinyMCE Advanced plugin

WordPress has a built-in editor known as the “Visual” editor. At the backend, the editor uses open source editor named “TinyMCE”. If you switch between the Visual Editor and the HTML(Text) editor, the TinyMCE functionality executes a backend filtration process. During this process, the empty tags and the
tags are removed from the post.
The TinyMCE-Advanced plugin adds the option to disable the automatic removal of and
tags. The option to disable/enable WordPress line break is present in the Settings->TinyMCE Advanced panel.
Tiny MCE plugin

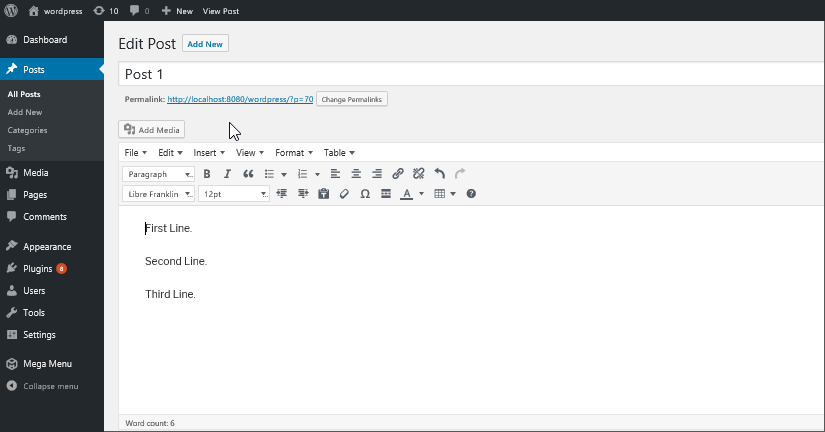
Edit Post in Visual Editor without TinyMCE Advanced Plugin installed

WordPress line breaks issue21

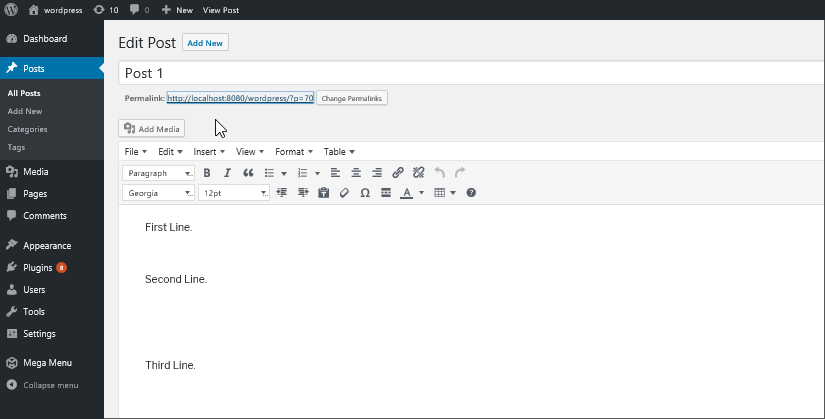
Edit Post in Visual Editor with TinyMCE Advanced Plugin installed and disabled auto removal of tags:

 WordPress line breaks Fix21

4. Work with the HTML Editor

This is an easy solution for people who are familiar with HTML. You can avoid working with the Visual editor and switch to the HTML mode in the WordPress editor. The HTML mode lets you control the output and allows you to add or remove line breaks. Just use the
tag wherever you want a line break inserted.

5. Add a filter to replace
tag

Add a filter in the functions.php file which adds a clear attribute to the
tag. When the attribute is added, the
tag is not removed by WordPress.
function clear_br($content) { 
return str_replace("<br/>","<br clear='none'/>", $content);
} 
add_filter('the_content','clear_br');

Post before adding filter

WordPress line breaks filter2

Published post after adding filter

WordPress line breaks filter

6. Create a WordPress Line Break (br) Shortcode

You can add a shortcode to fix the line breaks not working issue in WordPress.
Insert the following shortcode code into the functions.php file:
function add_linebreak_shortcode() {
return '<br />';
}
add_shortcode('br', 'add_linebreak_shortcode' );
Now insert the shortcode shown below wherever you want to insert a space.
[br]

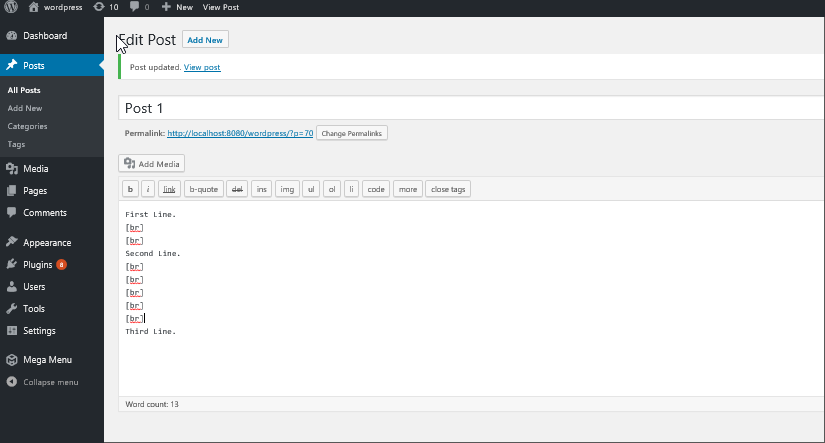
Adding Shortcode in Text Editor

 WordPress line breaks shortcode

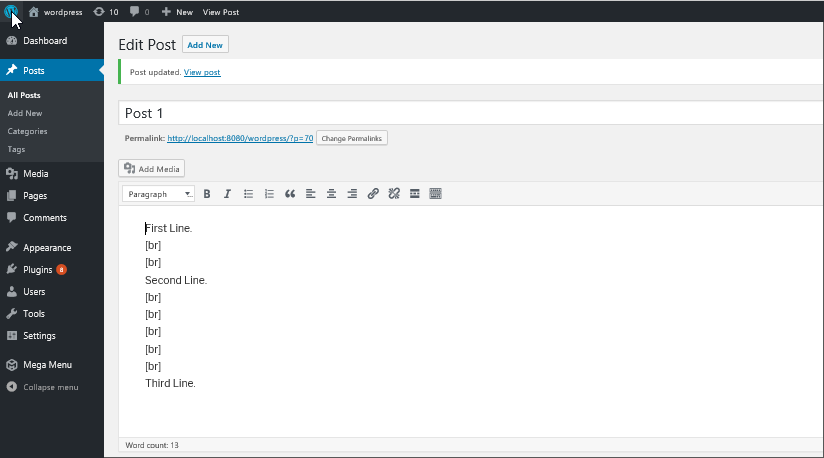
Edit Post in Visual Editor

WordPress line breaks shortcode2

Published Post after Adding Shortcode

WordPress line breaks shortcode3

7. HTML Br tag not working – Use CSS

Some developers believe
tags should not be used for styling pages. HTML is a semantic language, not to be used for defining positioning, styling or layout information. Use CSS to generate the style or size of paragraph margins using stylesheets. If you have basic knowledge of CSS, then all you need to add paragraph spaces is add a bottom margin to the tag for the paragraph.
  1. Open the WP admin panel.
  2. Select Appearance > Editor.
  3. Select the file style.css file on the right side. Locate the tag in the style.css file.
    Add the following lines to add gaps above and below the paragraph:
    padding-top:1.0em;
    
    padding-bottom:1.0em;
    Example:
    p {
    margin: 0 0 1.5em;
    }
    After adding those two lines, it will look like this:
    p {
    margin: 0 0 1.5em;
    padding-top:1.0em;
    padding-bottom:1.0em;
    }
  4. Save the file.
All paragraphs get a space above and below. Note that this would add the same amount of space above and below all paragraphs.
 WordPress line breaks margin


Note: this article is taken from https://blog.templatetoaster.com/wordpress-line-break-not-working/ 
Saturday, August 18, 2018

How to Disable WordPress Admin Bar for All Users Except Administrators

Disable Admin Bar for All Users Except for Administrators

Paste this code in your theme’s functions.php file
add_action('after_setup_theme', 'remove_admin_bar');
function remove_admin_bar() {
if (!current_user_can('administrator') && !is_admin()) {
  show_admin_bar(false);
}
}


Disable Admin Bar for All Users

If you want to disable it for all users, then simply put use this code in your theme’s functions.php file
add_action('after_setup_theme', 'remove_admin_bar');
function remove_admin_bar() {
  show_admin_bar(false);
}

Friday, August 17, 2018

Wordpress media library not loading images


WordPress media library not loading images or Images are not displaying the images:

Main cause of this issue is the plugin conflict, so please deactivate the plugin one by one and check that your issue resolved or not.

WordPress always update it's software to avoid or overcome issues and it is depreciating the old functions. but some of our plugin using these functions and create problem. So in that case please update the plugin if possible otherwise deactivate it .


How to open iframe external link in parent window

To open a link in the parent window inside a Iframe you can use the one of the below methods:

  1. If We wants all the link to open in the parent window then use the below tag in the header:
    <head><base target="_parent"><base></head>
     
  2. We can also use the tag target="_parent" in <a href="aboutus" target="_blank"/> tag
     
  3. We can also use javascript

    parent.document.location.href = "http://example.com";

Saturday, August 11, 2018

Wordpress pagination 404 error "/page/2" - what to do?


The problem mainly arises because permalinks set to Custom Structure /%category%/%postname%/. I understand WordPress assumes "page" is a post from the category.

That is totally normal behaviour. If you want to remove category base you will need to write some custom rewrite rules, not simple rules I must say.

Configure category base to . (dot), put this code in the functions.php of your theme, or better in a plugin, and flush the rewrite rules (code from this post in Daily Web Kit):

add_filter( 'category_rewrite_rules', 'vipx_filter_category_rewrite_rules' );
function vipx_filter_category_rewrite_rules( $rules ) {
    $categories = get_categories( array( 'hide_empty' => false ) );

    if ( is_array( $categories ) && ! empty( $categories ) ) {
        $slugs = array();
        foreach ( $categories as $category ) {
            if ( is_object( $category ) && ! is_wp_error( $category ) ) {
                if ( 0 == $category->category_parent ) {
                    $slugs[] = $category->slug;
                } else {
                    $slugs[] = trim( get_category_parents( $category->term_id, false, '/', true ), '/' );
                }
            }
        }

        if ( ! empty( $slugs ) ) {
            $rules = array();

            foreach ( $slugs as $slug ) {
                $rules[ '(' . $slug . ')/feed/(feed|rdf|rss|rss2|atom)?/?$' ] = 'index.php?category_name=$matches[1]&feed=$matches[2]';
                $rules[ '(' . $slug . ')/(feed|rdf|rss|rss2|atom)/?$' ] = 'index.php?category_name=$matches[1]&feed=$matches[2]';
                $rules[ '(' . $slug . ')(/page/(\d)+/?)?$' ] = 'index.php?category_name=$matches[1]&paged=$matches[3]';
            }
        }
    }
    return $rules;
}
For more details , you can check on the url https://wordpress.stackexchange.com/questions/172958/custom-permalink-structure-leads-to-be-404-on-pagination